Table of Contents
ToggleDiving into the world of Arduino is like opening a treasure chest of creativity and innovation. Whether you’re a seasoned techie or just starting out, this hardware guide will help you navigate the fascinating landscape of microcontrollers and sensors. Imagine building your own robot, crafting smart home devices, or even creating a quirky gadget that dispenses candy when you clap. Sounds fun, right?
Overview of Arduino
Arduino represents a versatile platform for creating electronic projects. It combines hardware and software, allowing users to program microcontrollers and interface with various sensors.
What Is Arduino?
Arduino refers to an open-source electronics platform based on user-friendly hardware and software. Microcontrollers like the ATmega series form the core of many Arduino boards. Programmers write code in Arduino’s IDE, simplifying the transition from concept to execution. Various models, such as Arduino Uno, Mega, and Nano, cater to different project requirements. Each board supports numerous shields and modules, expanding functionality and possibilities.
Importance of Arduino in Prototyping
Arduino plays a crucial role in rapid prototyping. Its accessible design enables developers to iterate quickly and test ideas. Prototyping with Arduino reduces costs and time associated with product development. Users can develop projects ranging from basic blinking LEDs to complex automation systems with minimal investment. Moreover, the extensive community and resources provide valuable support and inspiration. Various libraries enhance the capabilities of projects, ensuring seamless integration of components.
Types of Arduino Boards
Arduino boards come in various models, each designed for specific applications and user needs. Understanding these types helps in selecting the right board for a project.
Popular Arduino Models
Arduino Uno ranks as the most widely used board, ideal for beginners due to its straightforward design. Arduino Mega offers more input and output pins, making it suitable for complex projects requiring extensive connections. Arduino Nano delivers compact size and portable convenience, perfect for projects with limited space. Arduino Leonardo features built-in USB communication, allowing it to act as a mouse or keyboard. Each of these models caters to different application scenarios, enhancing versatility.
Comparison of Features
Arduino Uno provides 14 digital pins and 6 analog pins, creating ample room for basic projects. In contrast, Arduino Mega boasts 54 digital pins and 16 analog pins, supporting larger setups and multiple sensors. Arduino Nano features 22 digital pins in a small form factor, catering to tight spaces. Meanwhile, Arduino Leonardo’s ability to emulate USB devices adds unique functionality, useful in interactive projects. Users can choose boards based on the number of pins or specific communication features needed for their applications. Each model’s characteristics ensure a fit for varying levels of complexity and project requirements.
Essential Components
Various essential components comprise the Arduino ecosystem, enabling users to create innovative projects. Understanding these components is crucial for effective utilization.
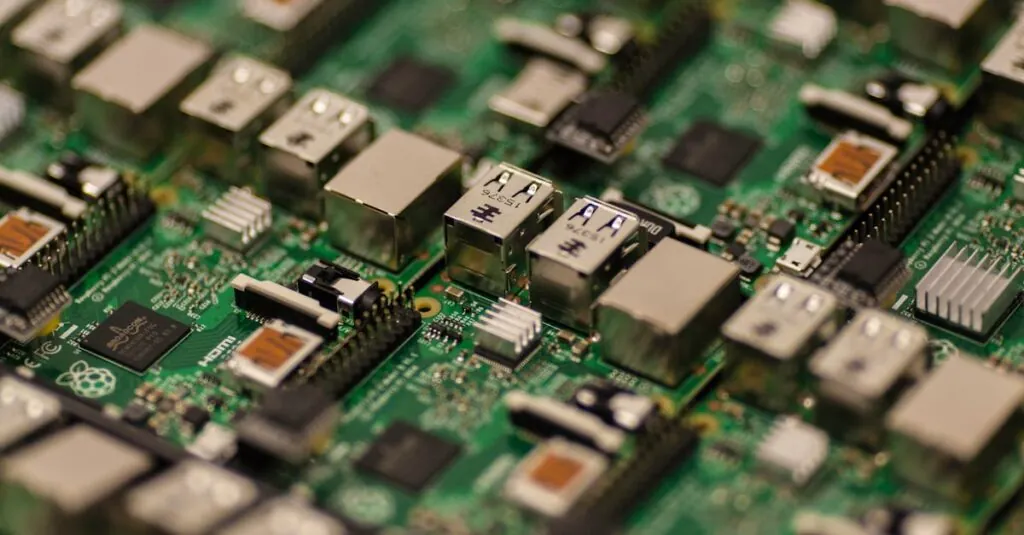
Microcontrollers
Microcontrollers serve as the brain of Arduino boards. Each model features different microcontrollers, with the ATmega series being the most common. An Arduino Uno contains an ATmega328P, while the Mega uses an ATmega2560. These microcontrollers provide sufficient processing power for diverse applications. Users program microcontrollers using Arduino’s integrated development environment. They write code in C/C++, making it accessible even for beginners.
Sensors and Actuators
Sensors and actuators expand the functionality of Arduino projects. Sensors, such as temperature and motion sensors, collect data from the environment while actuators, like motors and relays, perform actions in response. An ultrasonic sensor, for example, measures distance, while a servo motor controls movement. Each component contributes to interaction, enabling projects like automated climate control. Users can integrate multiple sensors and actuators to create complex systems, enhancing overall project capabilities. The abundant selection of compatible components makes experimenting with various applications easy.
Setting Up Your Arduino
Setting up your Arduino involves gathering essential hardware and ensuring software is available. This process lays the foundation for a successful project experience.
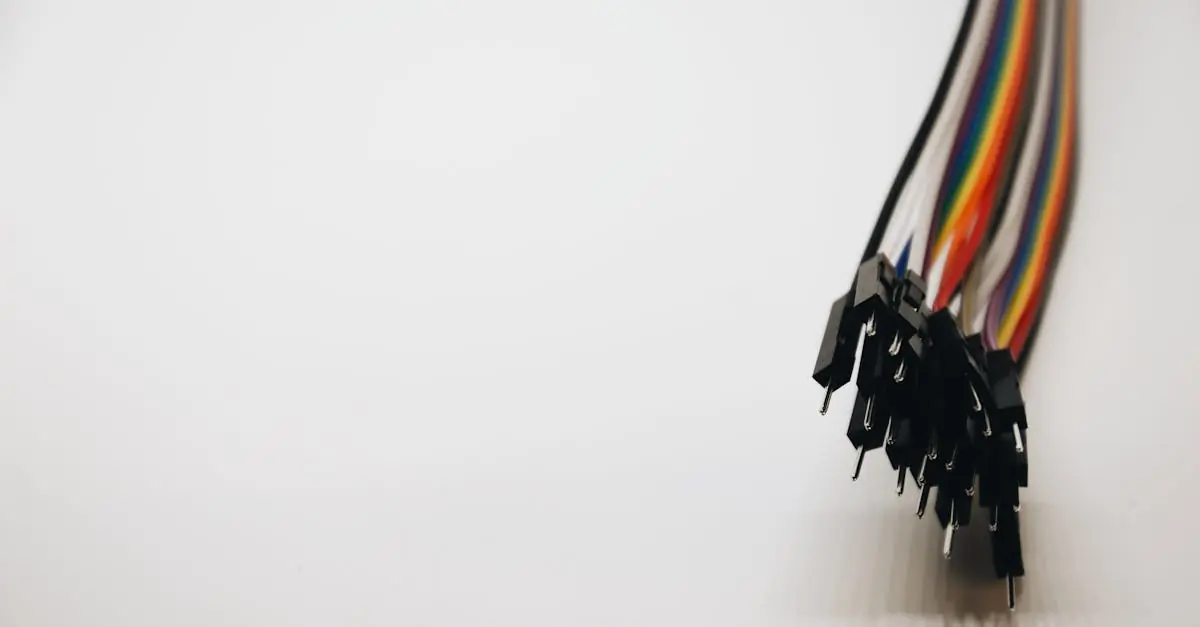
Hardware Requirements
Selecting the right components is crucial for an effective setup. Each Arduino model requires specific hardware. Users need a USB cable for connection to a computer, typically a Type A to Type B cable for models like the Arduino Uno. Power supply options include a battery or an external power adapter. Additionally, having jumper wires for connecting various sensors and shields enhances project flexibility. Breadboards serve as valuable tools for prototyping circuits without soldering. Finally, a selection of sensors and actuators can greatly expand project possibilities, ensuring users meet their creative needs.
Software Installation
Installing the necessary software is a straightforward process. Access the Arduino website to download the Arduino IDE. It’s compatible with Windows, macOS, and Linux systems. After downloading, follow the installation prompts to complete the setup. Users must launch the IDE and select the correct board type from the Tools menu to ensure compatibility. Setting the communication port is also essential for uploading code to the board. Various tutorials and documentation on the website assist beginners in navigating the IDE effectively, streamlining their learning experience and project initiation.
Programming Basics
Programming Arduino projects begins with understanding the Arduino Integrated Development Environment (IDE). This software streamlines coding through a user-friendly interface, enabling users to write and upload code seamlessly. Various features include syntax highlighting and a built-in library manager. Users benefit from a wide range of examples and templates that simplify project initiation. The IDE supports Windows, macOS, and Linux, ensuring broad accessibility to developers.
Introduction to Arduino IDE
Many users encounter the Arduino IDE as their first programming experience. This software facilitates coding for Arduino boards with ease. A simple installation process allows users to download the IDE directly from the Arduino website. Upon opening the IDE, it’s easy to navigate through its features, including the code editor and serial monitor. Additionally, multiple tabs help organize projects effectively, enhancing workflow. The IDE also includes helpful error messages, guiding users through troubleshooting efforts.
Writing Your First Sketch
Writing a sketch marks a milestone in the Arduino journey. Start by opening the IDE and creating a new sketch. Clear and concise code is essential for functionality, so users often rely on examples available within the software. Most sketches follow a basic structure, consisting of setup and loop functions. The setup function initializes settings, while the loop function runs continuously during operation. Users can upload their sketches to the Arduino board via a USB cable, enabling real-time testing and adjustments. Immediate feedback from the serial monitor aids in debugging, providing a dynamic learning experience.
Project Ideas
Exploring Arduino offers endless possibilities for projects. Users can start with engaging beginner projects or dive into more complex advanced builds.
Beginner Projects
Creating simple projects provides a solid foundation for newcomers. Examples include blinking an LED, which showcases basic code execution, and assembling a temperature sensor to monitor environmental conditions. Building a light-sensitive alarm utilizes a photoresistor, adding functionality while keeping it manageable for beginners. These projects introduce basic concepts like input, output, and coding structure in a hands-on manner. Working through these tasks encourages confidence and familiarity with Arduino hardware.
Advanced Projects
Tackling advanced projects challenges users to integrate multiple components and complex coding. Designing a robot that follows a line requires sensors and motors, offering experience in automation. Constructing a smart home system involves interfacing with Wi-Fi modules for remote control, showcasing IoT applications. Additionally, creating a customized weather station can integrate various sensors for real-time data collection, further expanding skill sets. Engaging with these advanced concepts deepens understanding and fosters innovation in Arduino applications.
Conclusion
Exploring the world of Arduino opens up endless opportunities for creativity and innovation. Whether users are crafting simple projects or tackling complex systems, the versatility of Arduino boards and their components makes it accessible for everyone.
With a supportive community and a wealth of resources at their fingertips, users can easily transition from ideas to functioning prototypes. Embracing the Arduino platform not only enhances technical skills but also inspires the pursuit of new and exciting projects.
The journey into electronics and programming has never been more engaging. As users dive deeper into their Arduino adventures, they’ll discover the joy of building and creating unique solutions tailored to their interests.